Exporting from After Effects is something every motion designer does dozens of times a week.
Without a proper workflow, you’re either wasting time fiddling with the same settings over and over again, or you’re a glutton for punishment!
In this post I’m going to run through three ways to export from After Effects — from the basics for beginners right through to the expert method that’ll save you serious time on every project.
The Beginner Way: Adding to the Render Queue
To export anything from After Effects you first need to add it to the render queue.
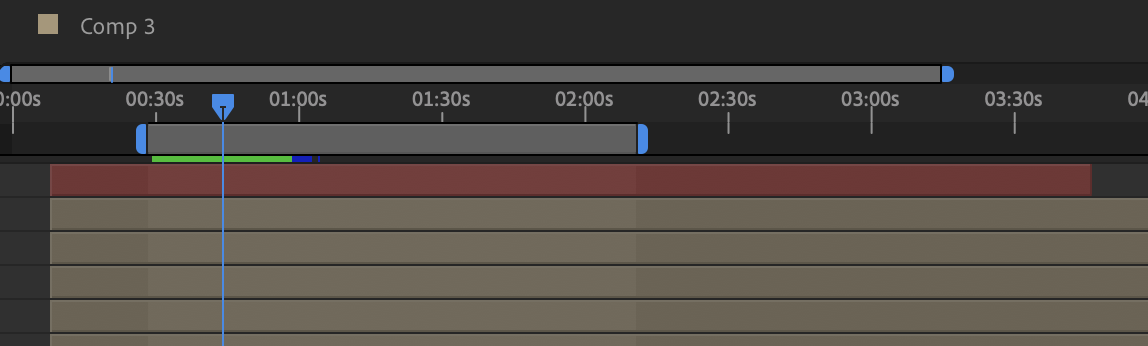
Set your work area bar to the in and out point of where you want to render. Move the playhead to your start point and press B, then move to your end point and press N.
Then go to Composition > Add to Render Queue.
In the render queue you’ll see three settings:
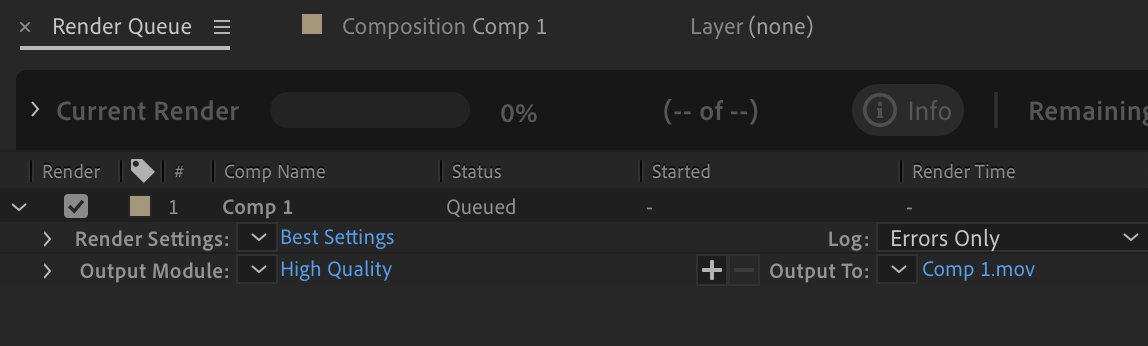
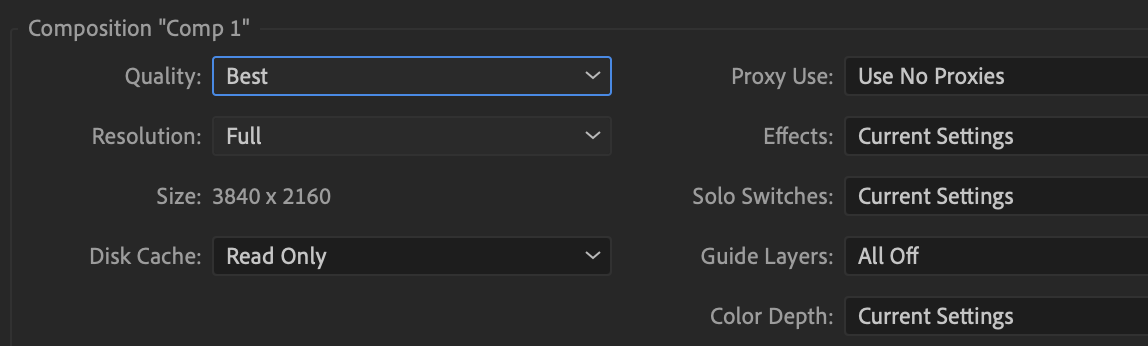
Render Settings — think of this as the quality of your render.
Click the blue text and choose Best Settings from the first drop down, and then Full from the second drop down list. This will ensure you’re exporting at full resolution using the best settings.
Output Module — this is the format you’re exporting to. The best thing to do when exporting from After Effects is to choose an uncompressed format that you can then re-encode into something like an mp4 in Adobe Media Encoder.
To choose an uncompressed file in the output module, again click the blue text to open up the settings…
First choose quicktime from the first dropdown:
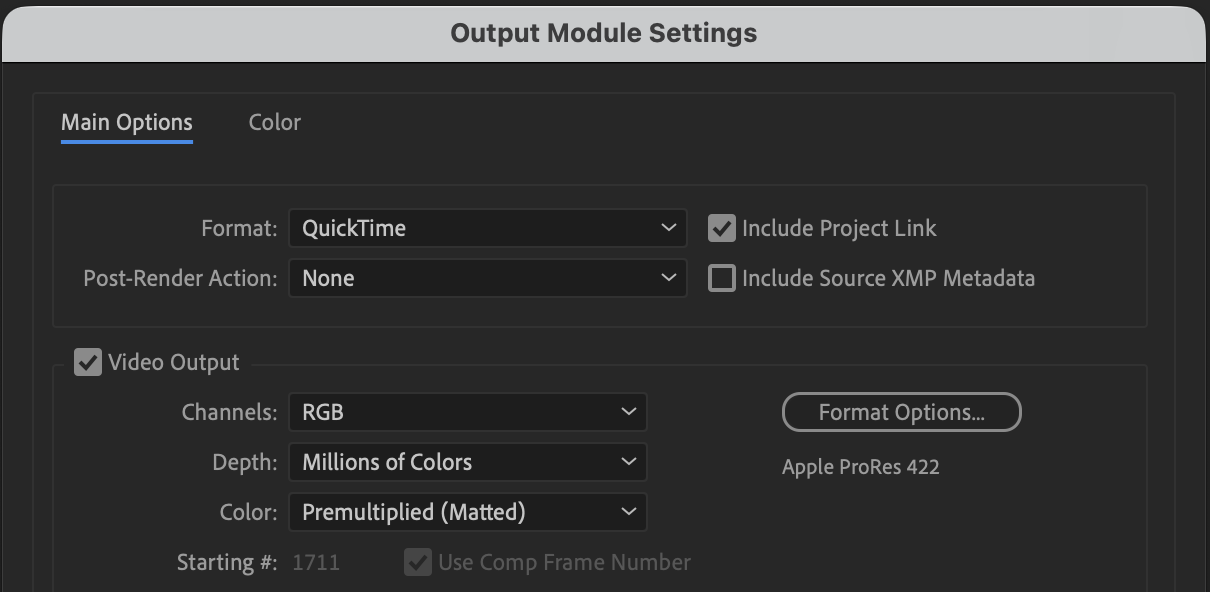
Then click the Format Options button to open up the codec settings:
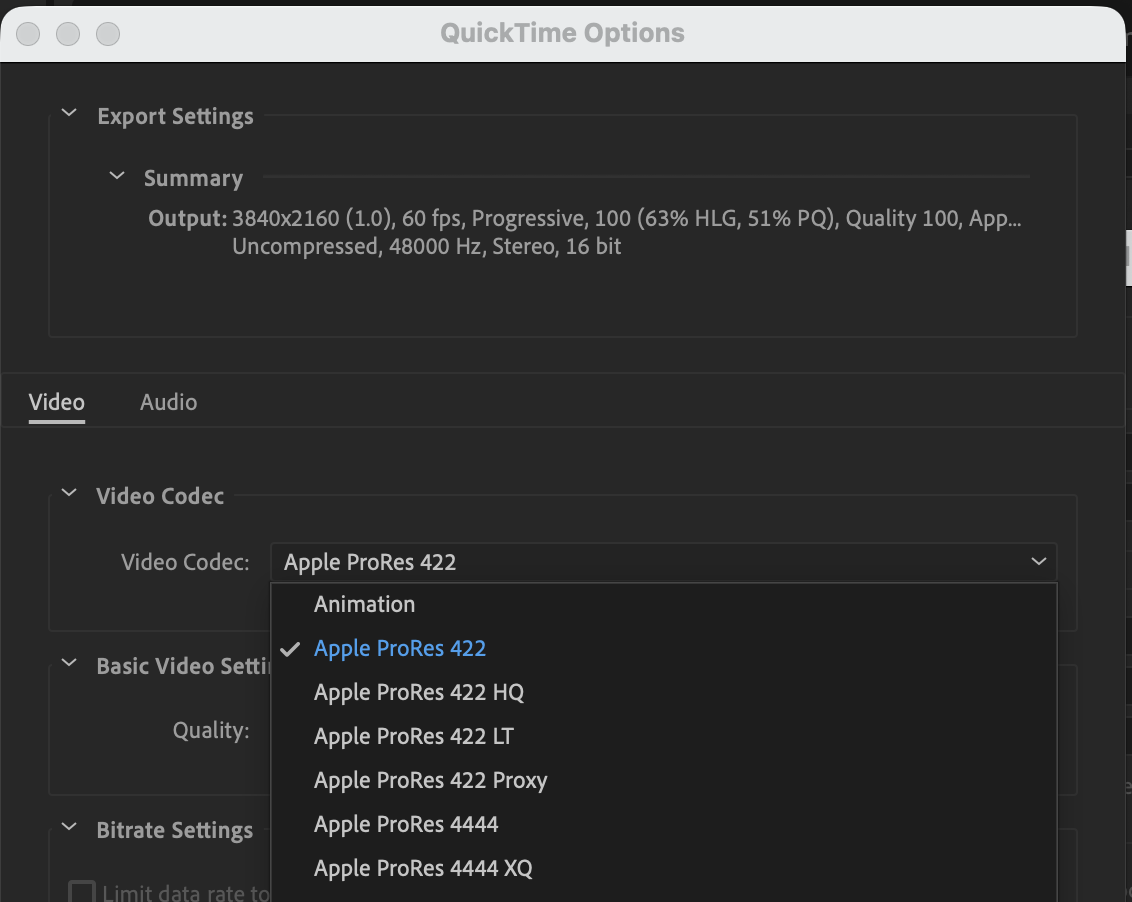
The codecs listed here will depend on your Operating System. If you’re on a mac then choose Apple Pro Res 422. If you’re on Windows then the Animation codec will also serve you well.
Finally there’s the Output To setting — this is where your render will be saved. Note: Choose your main drive rather than an external hard drive or SSD — otherwise it can significantly slow down your renders.
Oh and one golden rule: DO NOT under any circumstances put the word “final” in your file name. Just use version numbers and thank yourself later.
With those settings in place you can now hit Render in the render queue and your animation will be exported to your chosen location.
The Pro Way to export: Render Templates
If you’re manually reconfiguring the same render settings on every export, you’re wasting time that could be spent on actual work.
After Effects lets you save your settings as templates so you can apply them with a single click. In the Output Module, click the down arrow next to your current settings and choose Make Template:
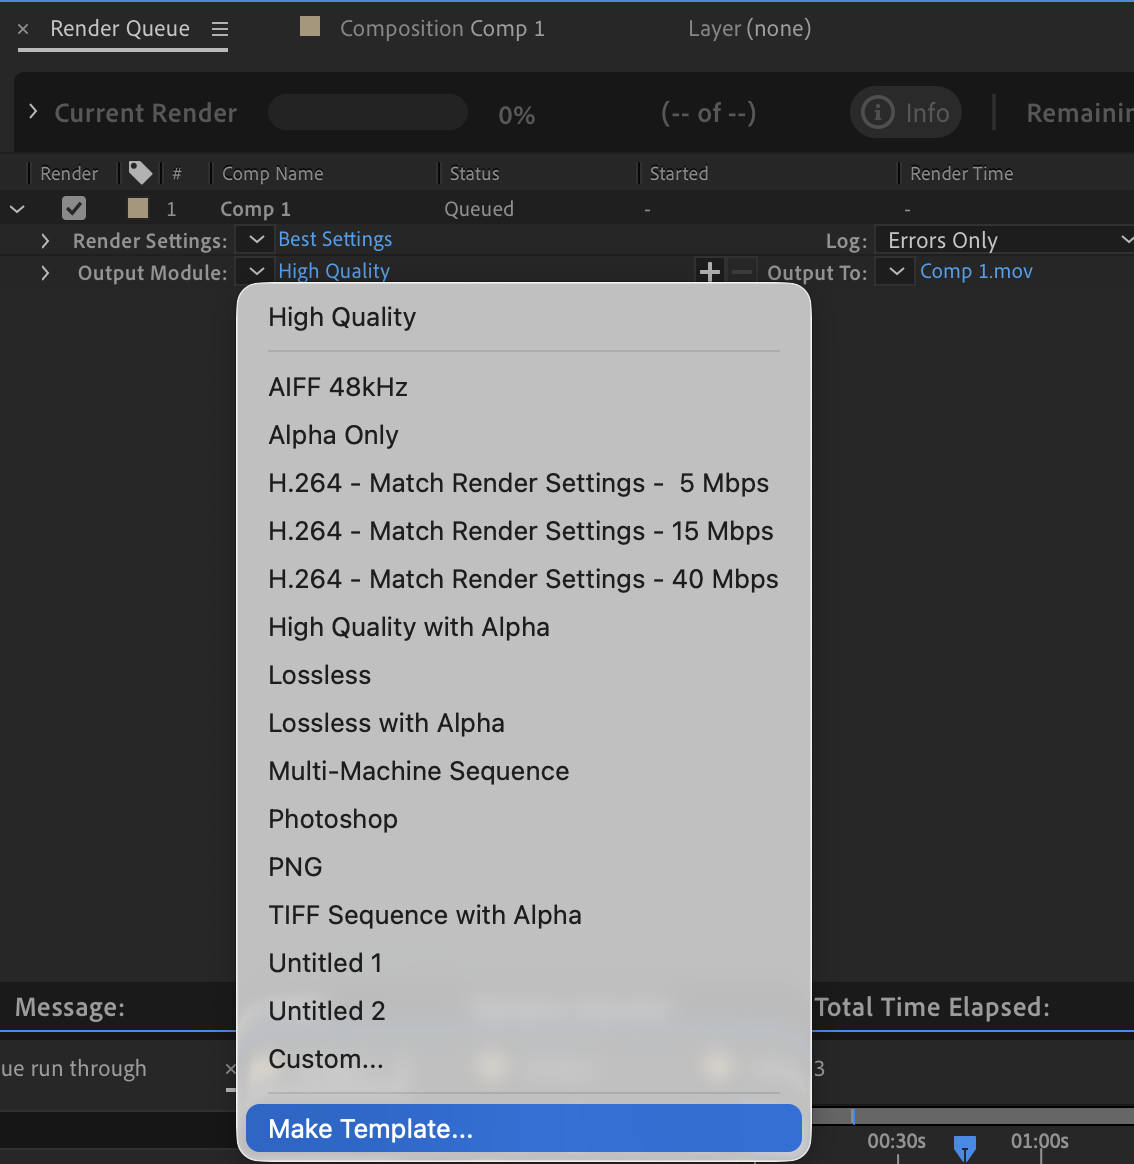
Give it a name, save it, and it’ll be available from the dropdown every time:

I have templates set up for everything I regularly export — uncompressed with alpha, TIFF sequences, draft renders. It takes five minutes to set up and saves hours over the course of a project.
The Expert Way: Renderly 2
Here’s the problem with the default After Effects export workflow: for every render you have to manually adjust the work area bar, configure your settings, and type your file name. Every. Single. Time.
That’s why I built Renderly 2.
Take a look at how it all works here:
Stop Wasting Time on Exports
The render queue is fine when you’re starting out, but if you’re still manually typing file names and adjusting work areas on every single export, you’re leaving hours on the table.
Templates will speed things up. Renderly 2 will transform your workflow entirely.
Pick the method that matches where you are now, but don’t stay stuck in the beginner workflow forever. Your time is worth more than that.