After Effects definitely has some interesting quirks about it. Perhaps the biggest quirk of all is that there is no way to add underlined text using the character panel as you would do in another Adobe program like Illustrator.
I’ll say that again: there is no option to underline text via the character panel in After Effects.
As startling as this may be, there is a workaround for the lack of an underline option. In this post I’m going to run through the process for creating an underline in After Effects using shape layers.
I’ll run through how to do things manually below, but if you want to save time and easily automate the process then check out my Highlight script that lets you easily underline text as well as create highlights. Take a look at the video below to see how it works:
How to manually underline text in After Effects:
(I’ll assume you already have your text layer ready to go in After Effects, if not, create that first)
Step 1. Create a new shape layer
Go to Layer > New > Shape layer to add one to your composition.
Step 2. Select the pen tool
With the shape layer selected in your composition, click the pen icon from the toolbar at the top of After Effects or press (P) on your keyboard.
Note: If you don’t see the pen tool or any other tools at the top of After Effects you may need to enable the toolbar by going to Window > Tools.
Step 3. Draw your line
Click on the shape layer to create the first point where you’d like your line to start. Then while holding the shift key on your keyboard, click a second time on your shape layer where you want the underline to end.
Holding the shift key ensures you’ll create a perfectly straight underline.
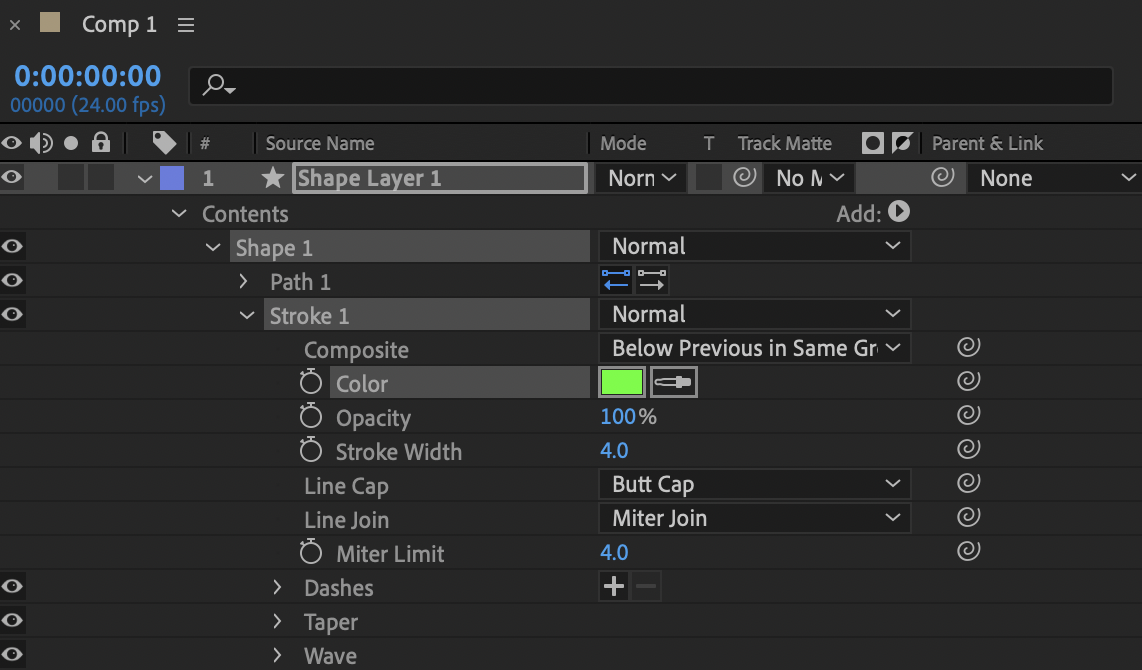
Step 4. Adjust the stroke
With your line layer selected, you can adjust the colour and size of the stroke value via the stroke and fill settings in the top toolbar. Click the square icon (coloured green in the image below) next to the word stroke to change the colour:

Click the blue number next to the square to change the thickness of your underline.
Alternatively, the style of your underline can be changed via the stroke options of your layer in the composition panel:
Step 5. Reposition your underline if necessary
If your underline doesn’t match up with your text, change the position of your shape layer so that the underline is directly beneath your chosen word.
If you want to animate your underline in After effects:
Step 1. Add the trim paths setting
In your underline shape layer, click the arrow next to the word Add and then choose Trim Paths:

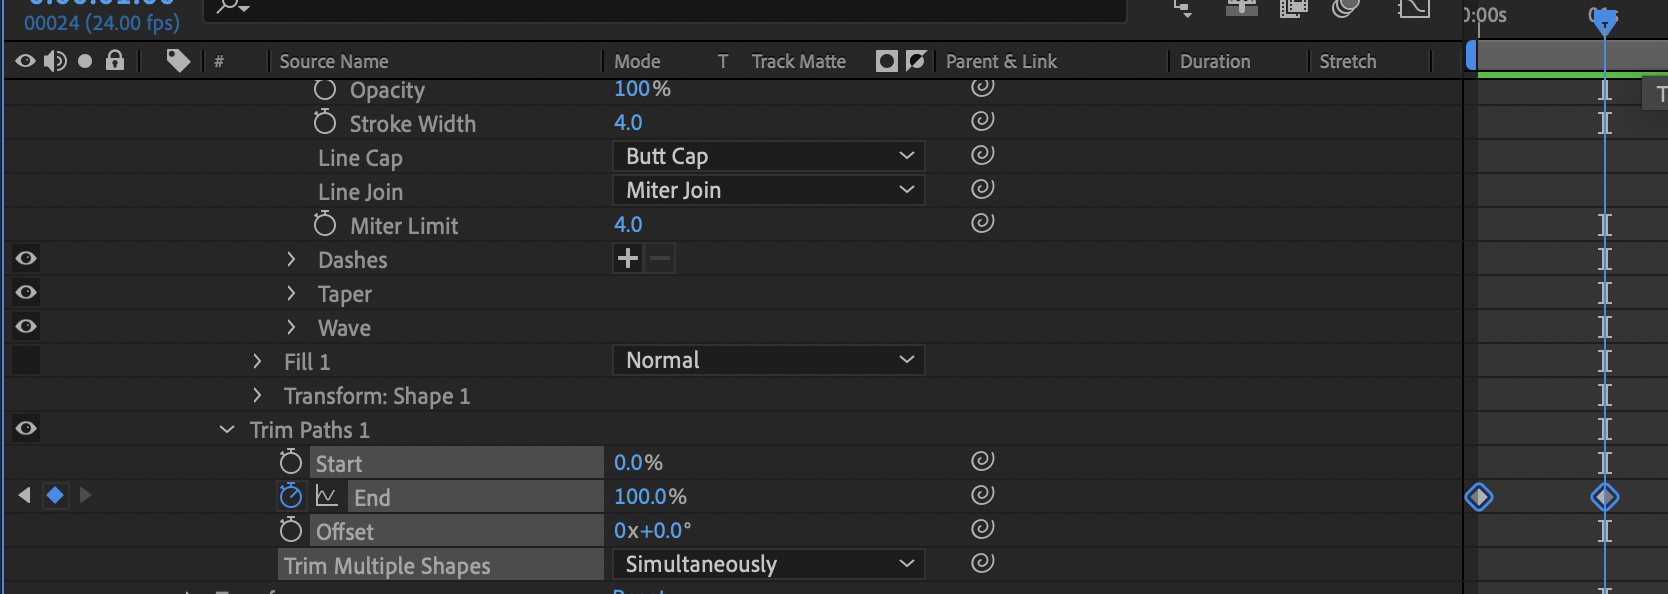
Step 2. Add keyframes to the End parameter
Open the settings of the trim paths option you’ve just added to your shape layer and change the End value to 0%.
After you’ve changed the value to 0, click the little stopwatch icon to add a keyframe.
Move the timeline marker across by about 1 second.
With the timeline marker at 1 second, change the End value from 0% to 100% - this should add another keyframe at the one second mark:
If you move the blue timeline marker from 0 to 1 second, the underline will now animate on-screen.
Step 3. Change the line direction.
If the line is animating on in the wrong direction, you can change this by swapping which of these buttons is selected next to the path option of your shape layer:

And there we have it! That’s how to add an underline in After Effects.
If you don’t want to waste time doing things manually, check out the Highlight script I’ve created for After Effects that will do everything mentioned above for you automatically and hopefully save you so much time!